Whether you’re a seasoned Linux veteran or a curious newcomer, this comprehensive guide equips you with the knowledge and confidence to conquer a tech challenge: Create Windows 11 Bootable USB on Linux. This powerful tool unlocks doors to system installations, troubleshooting missions, and data recovery adventures.
Table of Contents
Why Craft a Bootable Windows USB Drive?
Imagine the possibilities:
- Install Windows Anywhere: Breathe life into a new PC or revive an ailing one, all without a CD/DVD drive.
- Troubleshooting Made Easy: Diagnose and fix system issues by booting directly from the USB, bypassing a potentially corrupted OS.
- Rescue Lost Data: Recover valuable files from a dead system before it’s too late.
- Run Windows Tools on Linux: Access specific Windows applications or utilities right from your familiar Linux environment.
Gathering Your Gear:
Prerequisites
Before embarking on this quest, ensure you have these essentials:
- A Linux computer: Any flavor of Linux will do!
- A USB flash drive: Choose one with at least 8GB of storage (16GB preferred for Windows 11).
- Windows 10/11 ISO image: Download it directly from Microsoft’s official website.
- Bootable USB creation tool: We’ll explore different options later.
Conquering the Quest: Step-by-Step Strategies
Dive into Graphical Tools: Create Windows 11 Bootable USB on Linux
Choosing the right graphical tool for crafting your Windows 11 bootable USB depends on your desired level of ease and flexibility. Here’s a breakdown of two popular options:
Ventoy: Drag-and-Drop Multi-Boot Mastery to Create Windows 11 Bootable USB on Linux
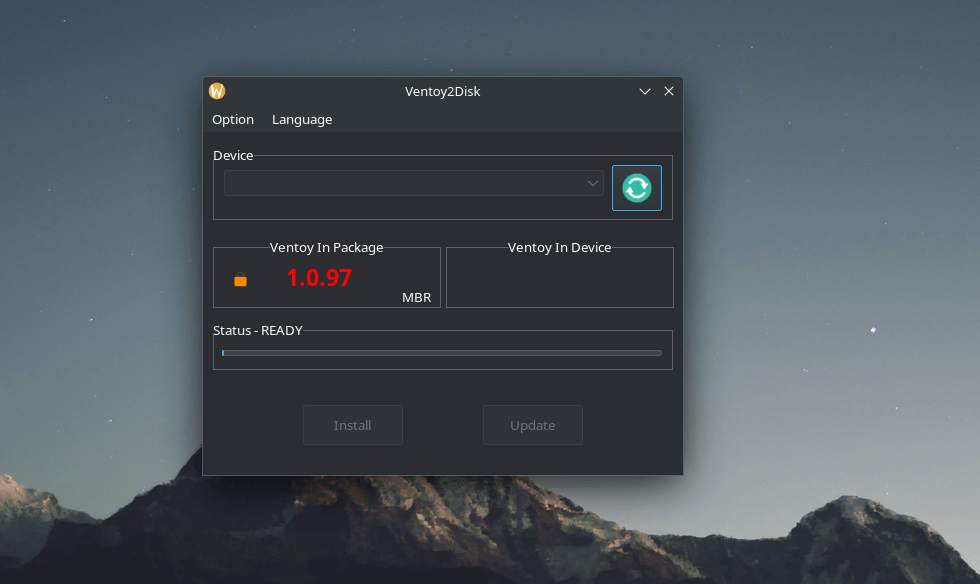
- Effortless Simplicity: Perfect for beginners, Ventoy requires minimal technical knowledge. Just drag and drop your Windows 11 ISO onto the Ventoy-flashed USB, and you’re good to go!
- Multi-Boot Magic: Not just for Windows! Ventoy lets you house multiple bootable ISOs on the same USB drive, including other Windows versions, Linux distributions, and even rescue tools.
- Boot Menu Mania: Forget messy terminal commands. Ventoy presents a user-friendly boot menu at startup, allowing you to seamlessly choose your desired operating system.
- Potential Drawbacks: Ventoy might lack specific customization options for advanced users. It also may not support some niche ISOs.
Ventoy Installation Snippets for Various Linux Distros:
Here’s a breakdown of how to install Ventoy on popular Linux distributions, including Ubuntu/Debian, Fedora/CentOS, Arch Linux, and more. Remember to replace /dev/sdX with your actual USB drive device name before proceeding.
Ubuntu/Debian:
sudo wget https://ventoy.net/ventoy-1.0.83.linux.zip
unzip ventoy-1.0.83.linux.zip
sudo chmod +x Ventoy2Disk
sudo ./Ventoy2Disk -i /dev/sdX
Fedora/CentOS:
sudo dnf install fuse unzip
wget https://ventoy.net/ventoy-1.0.83.linux.zip
unzip ventoy-1.0.83.linux.zip
sudo chmod +x Ventoy2Disk
sudo ./Ventoy2Disk -i /dev/sdX
Arch Linux:
yay -S ventoyIf you dont have YAY installed on you arch please follow our guide HARE
OpenSUSE:
- Download the RPM package from https://www.ventoy.net/en/download.html
- Install the package using your package manager:
sudo zypper install ventoy-1.0.83.x86_64.rpmUNetbootin: Lightweight Champion for Beginners
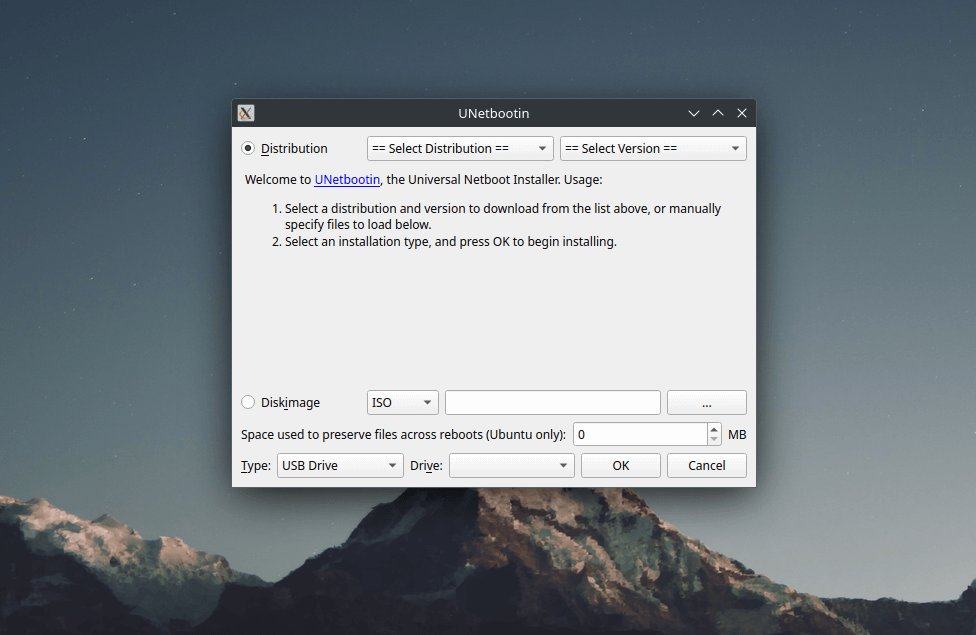
- Compact Convenience: UNetbootin is a featherweight program, ideal for older or resource-constrained machines. It downloads quickly and takes up minimal storage space.
- Straightforward Workflow: UNetbootin’s intuitive interface guides you through the process step-by-step, making it perfect for first-timers.
- Wide ISO Support: UNetbootin handles most popular ISOs, including Windows 10/11 and various Linux distributions.
- Limited Features: Compared to Ventoy, UNetbootin offers less flexibility. You can only install one bootable ISO per USB drive and lack advanced configuration options.
UNetbootin Installation Snippets for Various Linux Distros:
Ubuntu/Debian:
Sudo add-apt-repository ppa:ubuntu-toolchain-ppa/ppa
sudo apt update
sudo apt install unetbootin
Fedora/CentOS:
sudo dnf install git fuse unzip
git clone https://github.com/unetbootin/UNetbootin
cd UNetbootin
make
sudo make install
Arch Linux:
yay -S unetbootinIf you dont have YAY installed on you arch please follow our guide HARE
OpenSUSE:
- Download the RPM package from https://sourceforge.net/projects/unetbootin/files/UNetbootin/
- Install the package using your package manager:
sudo zypper install unetbootin-1.0.9.9.x86_64.rpmOther Distros:
- Download the appropriate AppImage file from https://sourceforge.net/projects/unetbootin/files/UNetbootin/
- Make the file executable:
chmod +x Unetbootin-Linux-Stable.AppImageRun the application:
./Unetbootin-Linux-Stable.AppImageAdditional Notes:
- These instructions utilize UNetbootin version 1.0.9.9. Update the version numbers in the commands if using a different version.
- Always back up any data on your USB drive before formatting it with UNetbootin.
- Double-check your device name before proceeding to avoid accidental data loss.
- For detailed instructions and troubleshooting information, refer to the UNetbootin website: https://sourceforge.net/projects/unetbootin/files/UNetbootin/.
Etcher (BalenaEtcher):
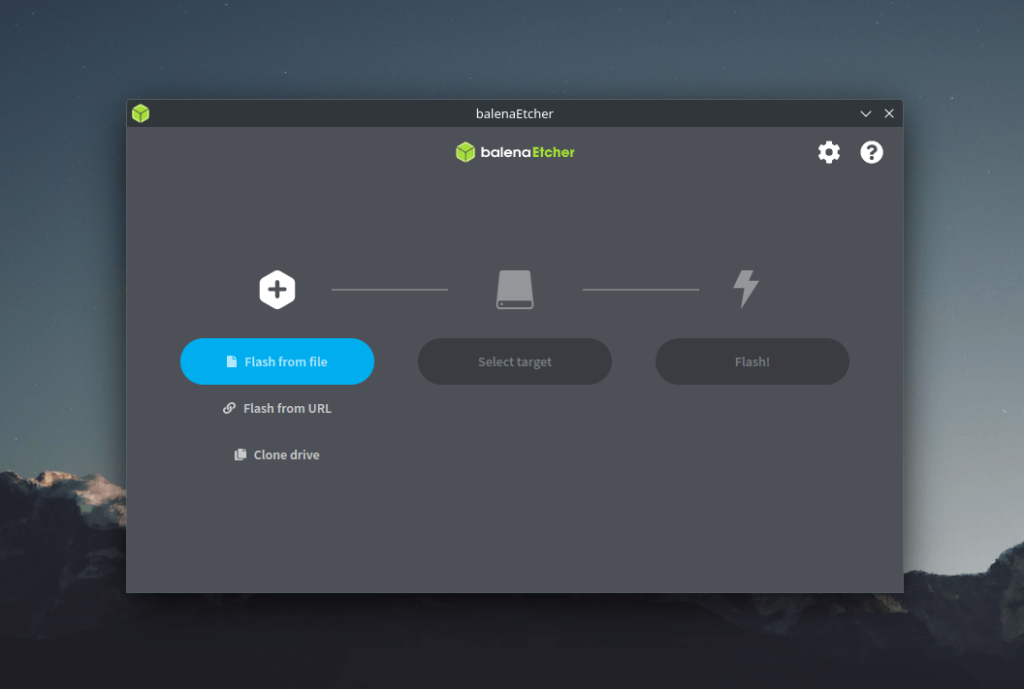
- Flashy Favorite: Etcher’s sleek interface and user-friendly workflow make it ideal for all experience levels.
- Verification Virtuoso: Before flashing, Etcher verifies downloaded ISOs for authenticity and corruption, minimizing boot-time woes.
- Platform Nomad: Etcher runs seamlessly on Windows, macOS, and Linux, offering platform-agnostic convenience.
- Multi-Boot Minimalist: Unlike Ventoy, Etcher operates with single-ISO functionality, but its verification and cross-platform nature are appealing advantages.
Etcher Installation Snippets for Various Linux Distros:
Download the appropriate .AppImage file from https://github.com/balena-io/etcher: https://github.com/balena-io/etcher. Choose the version for your architecture (x86_64 or aarch64).
Make the file executable:
chmod +x balenaEtcher-etcher-linux-x64.AppImage
``` (Adjust the filename based on your downloaded version)
Run the application:
Additional Notes:
./balenaEtcher-etcher-linux-x64.AppImage
``` (Adjust the filename based on your downloaded version).AppImagefiles provide a portable way to run Etcher without installation.- If you prefer integration with your system menu, consider building from source or exploring your distribution’s official package manager for potential Etcher packages (available in some specific distros).
- Remember to back up any data on your USB drive before flashing it with Etcher.
- Always double-check your device name before proceeding to avoid accidental data loss.
- The Etcher website offers detailed installation instructions and troubleshooting tips: https://www.balena.io/etcher/: https://www.balena.io/etcher/.
Choosing Your Graphical Tool Champion:
- Newbie Navigator: Ventoy’s drag-and-drop ease and multi-boot functionality make it a winner for beginners.
- Compact Conqueror: UNetbootin’s lightweight footprint and simple workflow suit users on older machines or those seeking a quick solution.
- Power User Playground: If you crave customization and control, consider exploring other tools like Etcher or manual methods with dd.
Conclusion: Your Arsenal for Bootable Windows USB Drives on Linux
Conquering the world of bootable Windows USB drives from your Linux machine is now at your fingertips! This guide equipped you with five powerful graphical tools and their installation specifics across various Linux distros. Remember, choosing the perfect tool depends on your needs and experience:
- Ventoy: Drag-and-drop multi-boot mastery for beginners and veterans alike.
- UNetbootin: Lightweight champion for a quick and straightforward solution.
- Etcher: Sleek interface with verification features for added confidence.
No matter your choice, always remember to back up your data and double-check device names before flashing. With these tools and a dash of caution, you’ll be crafting bootable Windows USB drives on your Linux machine like a pro, ready to tackle any installation or recovery challenge.
So, dive into the world of graphical tools, experiment, and relish the convenience of creating bootable Windows USB drives directly from your Linux haven!
I hope this comprehensive guide concludes your quest for conquering bootable Windows USB creation on Linux.