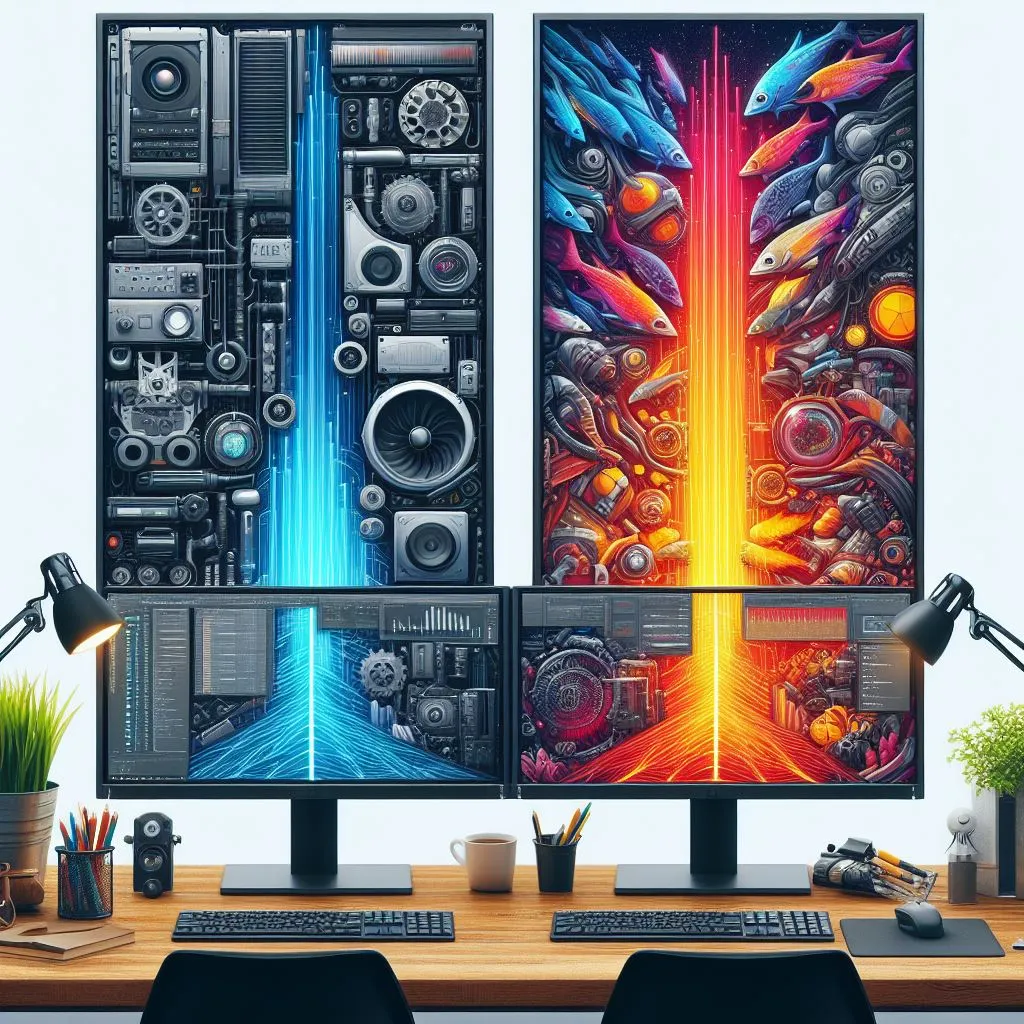
In the ever-evolving world of technology, monitors have expanded in width to offer more screen real estate for immersive video playback and gaming experiences. While the default horizontal setup may seem intuitive, it might not be the most efficient configuration for various tasks. Discover how a vertical monitor setup can maximize your workspace, allowing for enhanced productivity and multitasking capabilities.
The Efficiency of a Vertical Monitor Setup
As we navigate through programs like Microsoft Word, Google Docs, or traditional scroll-down webpages, the limitations of a wider screen become apparent. The surplus space often results in wider columns or unnecessary grey areas between documents and scroll bars. Making the switch to a vertical monitor enables a more condensed view of your browser, facilitating the comfortable display of two windows side by side.
This configuration proves particularly beneficial when using a monitor as a second display for your laptop, providing immediate control over three applications or tabs simultaneously.
How to Set Up a Vertical Monitor
Hardware Configuration
Initiating a vertical monitor setup involves two primary steps: hardware and software. Begin with the hardware aspect, where the process may vary depending on your monitor’s manufacturer.
If you are using a monitor with a stand, physically changing the screen orientation is typically straightforward. Some monitors, such as certain Dell models, allow easy rotation into portrait mode or feature a lock mechanism on the back for rotation. Even basic desk mounts offer flexibility in adjusting your display orientation to suit your preferences.
Software Configuration
With the hardware aspect sorted, proceed to the software setup. Ensure your monitor is correctly connected to your computer before delving into the following steps:
Setting Up a Vertical Monitor with Windows:
Step 1: Open the Windows Start menu and select the cogwheel icon for Settings.
Step 2: Inside Settings, navigate to System.
Step 3: Choose Display from the options available.
Step 4: If your vertical monitor is connected, find the Multiple displays menu to configure the screen’s position relative to other monitors. Use the Detect option if the menu isn’t visible.
Step 5: Scroll down to Display orientation. Adjust the setting from Landscape to Portrait or Portrait (flipped) based on your desired rotation.
Step 6: If you make a mistake, a notification will appear, giving you 15 seconds to revert changes. Click Revert to return to the previous configuration.
Setting Up a Vertical Monitor with macOS:
Step 1: Click on the Apple logo in the top-left corner of your Mac screen.
Step 2: Choose System Preferences from the dropdown menu.
Step 3: Select Displays within System Preferences.
Step 4: Ensure your vertical monitor is properly connected; macOS will automatically detect it.
Step 5: Choose your monitor from the Displays menu.
Step 6: Locate the Rotation option at the bottom of the window.
Step 7: Change the default setting from Standard to either 90° or 270°, depending on your clockwise or counterclockwise display rotation.
Step 8: Confirm your selection to apply the changes.
Considerations for a Vertical Monitor Setup
While a vertical monitor setup proves advantageous for those who prefer compartmentalized work, it may not be suitable for everyone. If you thrive on a plethora of tabs or need to focus on one task at a time, the setup might be overly stimulating. In such cases, maintaining your primary screen in landscape view ensures a comfortable and focused work environment. Easily toggle between a vertical and landscape setup as needed to tailor your workspace to the demands of the moment.
Conclusion
Embracing a vertical monitor setup can transform your work environment, providing a more efficient and streamlined approach to multitasking. By optimizing both hardware and software configurations, you can unlock the full potential of your monitor and enhance your overall productivity. Experiment with this setup to find the orientation that best complements your workflow, and enjoy a more immersive and organized digital workspace. Please also read about our trading post about Unveiling Excellence: The Best 3D Printers Under $1000.
